By selecting the worksheet with the print area you activate the print function for your app. This enables you to save the content of your calculation as a PDF file and send it by email.
In this article
- General information about the "Export as PDF" functionality
- Add "Export as PDF" action button with additional options
- Define the PDF file name
- Hide and show "print as PDF" action button depending on conditions
General information about the "Export as PDF" functionality
First, make sure your source Excel file contains a worksheet that contains the relevant info for your print data. For more information about how to define print areas, please visit the article "Set or clear a print area on a worksheet".
If you want the printout to be in landscape orientation, change the page orientation in your source file. (See: "Print a Worksheet in Landscape or Portrait")
FONTS: When generating the PDF we replace the font from the Excel file with Helvetica / Times New Roman because these two fonts are natively supported in the specification of PDF. Unfortunately, we cannot use other fonts because they are not installed on the cell phone (e.g. Calibri).
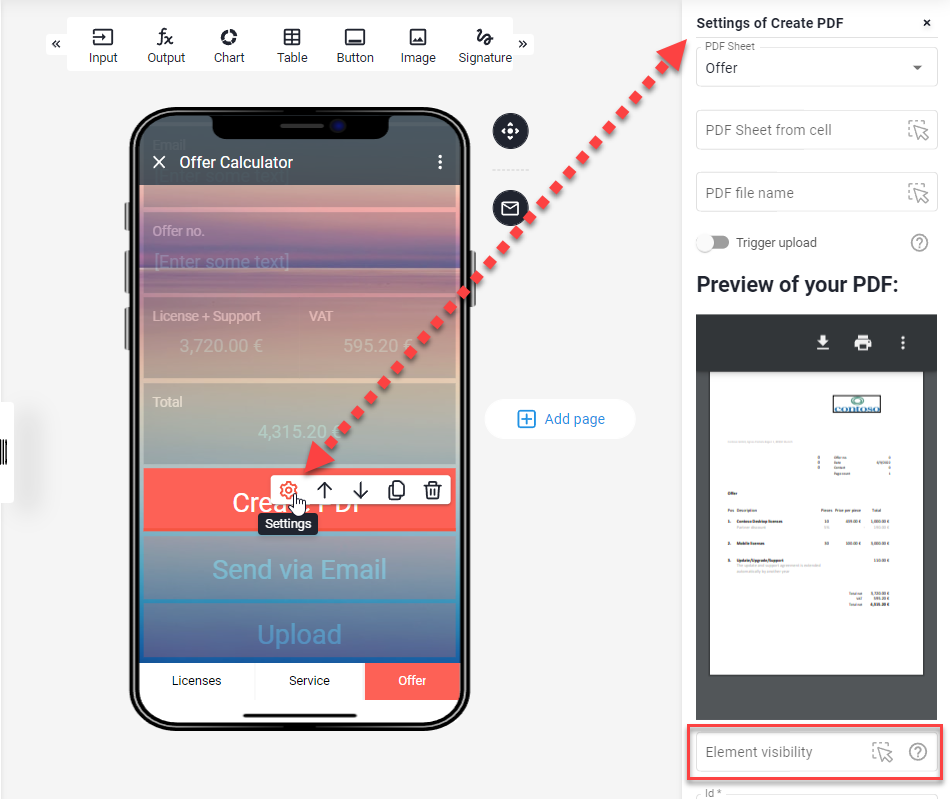
Add "Export as PDF" action button with additional options
It is possible to print different sheets from Excel, depending on which action button the user clicks.
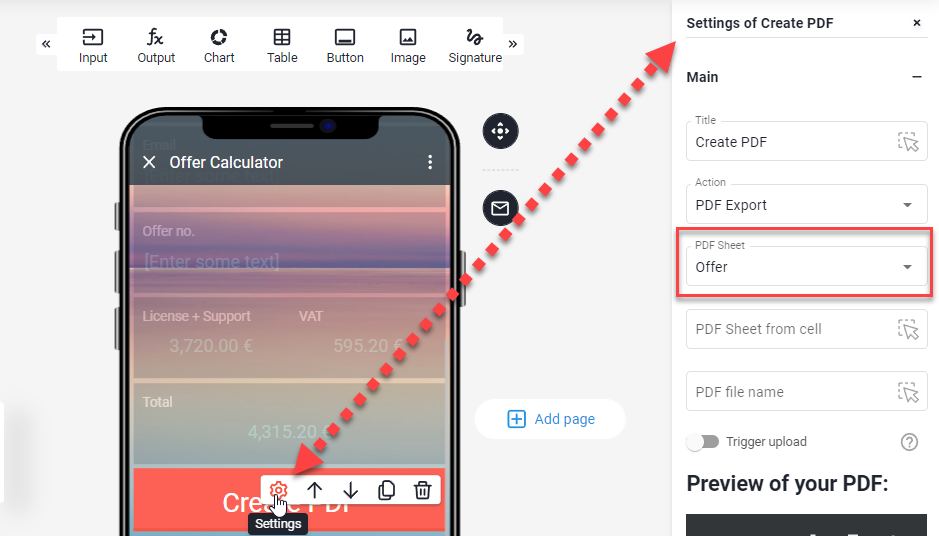
Define the PDF file name
Define the name in the element or make it a dynamical name from a cell in your spreadsheet

Hide and show "print as PDF" action button depending on conditions (TRUE/FALSE)
Enter the address of the cell in the workbook whose value decides if this element is shown or not. The cell should evaluate to TRUE or FALSE.